
If you’ve been following the recaps here on holiday hairstyles from Folica’s Hair-To class, w’ve already covered Wavy Side Bun with Braid, and Fancy Bun with Headband hairstyles. As promised, here’s the last hairstyle, a Taylor Swift-inspired curly updo. Stylist Jay Santiago from La Bottega Salon took the lead in showing us this style. I loved it so much, I wore my hair like this for my friends birthday a few days later 🙂 Yes, with a little practice and the right tools, any of these styles can actually be done on your own (which is major coming from me…normally I’m totally clueless when it comes to hair!).
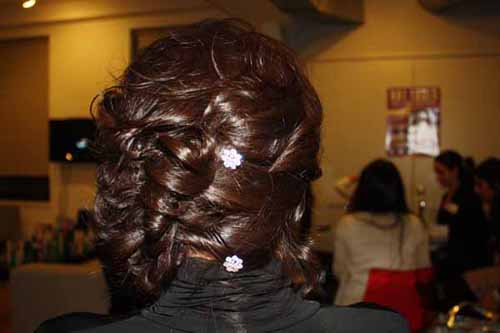
DIRECTIONS FOR CURLY UPDO
1. Dry hair using a hair dryer and a paddle brush
2. Decide which side to part your hair on. Part hair in 4 sections and hold with clips for control.
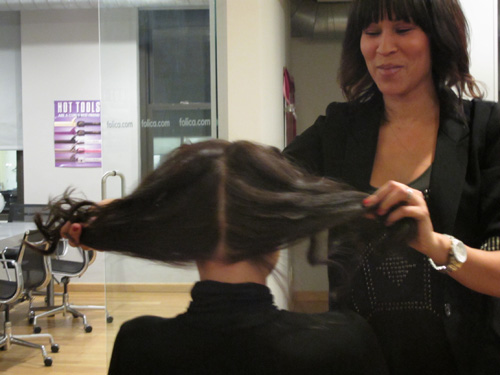
3. Taking one section at the time, remove clip and curl in 1″ pieces until entire head is done. Jay called these ‘banana curls,’ which are more spiral than regular curls.
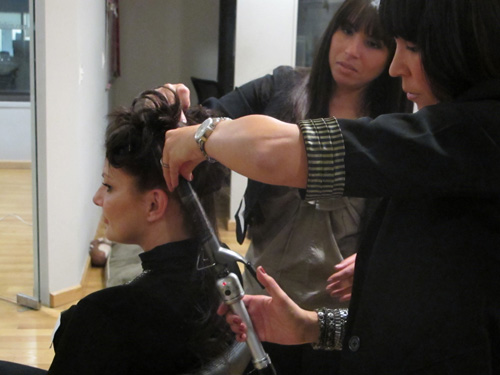
4. With a smoothing balm or gloss, break up and separate the curls with fingers
5. Using your fingers separate the top crown from the rest of the hair and clip. You will work this section
into the style at the end.
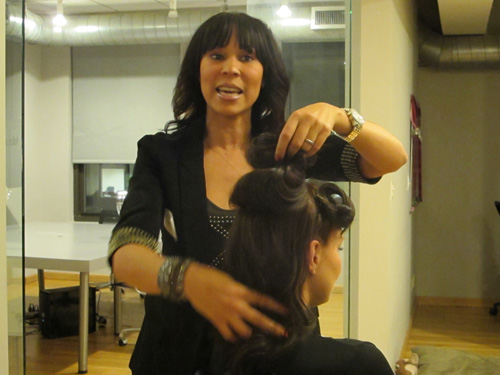
6. SOFTLY, bring pieces of hair back and twist into the position you desire (either low bun or side bun). Use bobby pins to hold hair back and to start creating a bun.
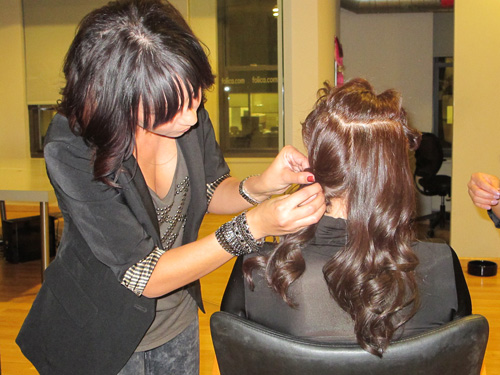
7. Once the back is done, start by taking the hair from each side and spray with a hold spray to keep hair
in place.
8. Remove the clip from the top section of hair. To add some height, tease this section first and spray the roots with hairspray. Then, softly place and direct the curls where you want them, creating a soft look and with a natural fall.
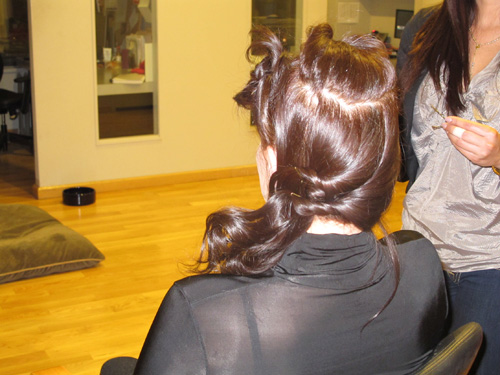
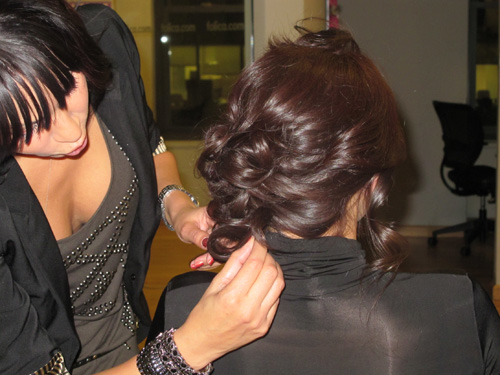
9. Start pulling some curls toward face and sides. This will help to create that messy but cute look.
10. Lastly, secure the messy bun with extra bobbie pins. Add hair accessories if desired and spray with a
hold spray for the final touch.

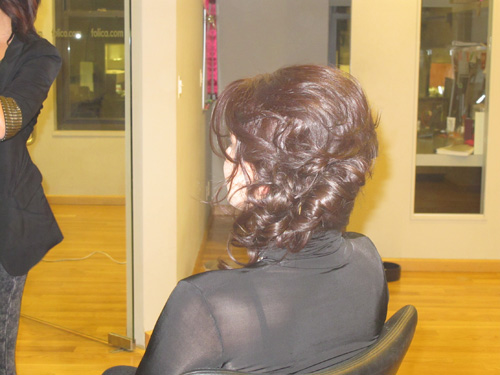
Anyone else going to be trying this one??
x
Shy
Recent Comments