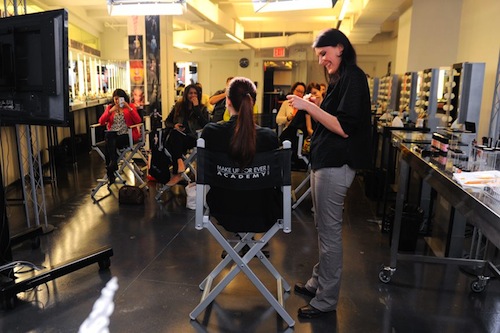
Did you know Make Up For Ever has a beauty school? I admit, I didn’t before I was invited to attend a class with them.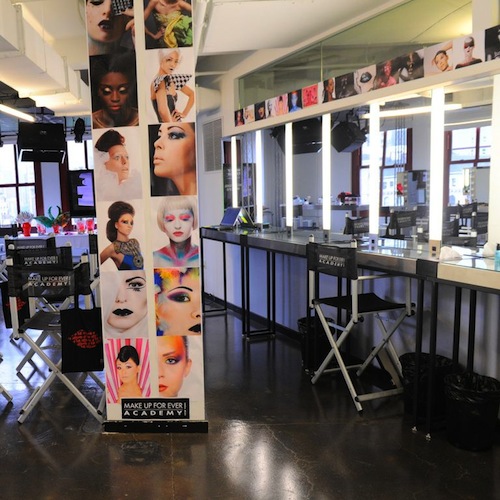
The Make Up For Ever Academy, located in Union Square (853 Broadway, on the 10th floor), offers lessons on a full range: for beginners interested in fashion and wedding makeup as well as more intensive classes on TV/Film, and Stage/Artistic makeup. But when I attended a few days ago, they taught us the basics for an everyday natural look (of course I’m going to share them with you here).
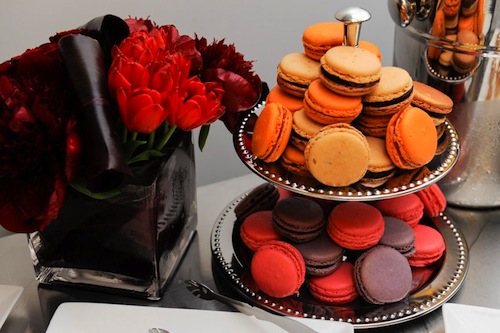

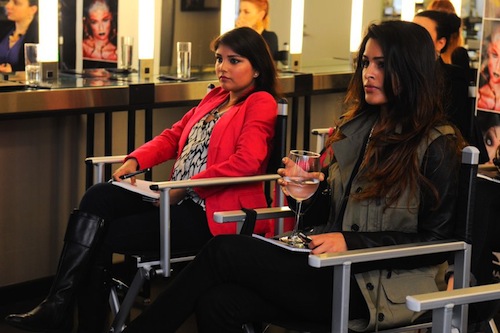
Our class was led by the wonderful Floriane David, Education Director, who studied intensely under MUFE’s founder, Dany Sanz. She taught us specific lessons on how to contour the face, shape brows, and eye shadow essentials .
BASIC FACE CONTOUR
Did you know most model’s have an ‘oval-shaped’ face? Contouring is a make up artist trick for altering a client’s natural face shape to appear more oval, which is considered to be the most photogenic shape. The key to a perfect contour is proper blending and remembering that light accentuates the face, while shadowing recedes it.
What you Need:
Neutral powder or cream contour shades that are one shade darker and one shade lighter than your natural skin tone and a double-ended soft, natural bristle brush with one slanted brush for contouring and one rounded brush for illuminating. She used their Sculpting Kit and >Double-Ended Sculpting Brush for this.
Get the Look:
1. Identify your face shape to determine where to place your contour. So if you have a more round face, you’d want to sculpt out the cheeks, if you have a more square face, you’d want to sculpt out your jaw line.
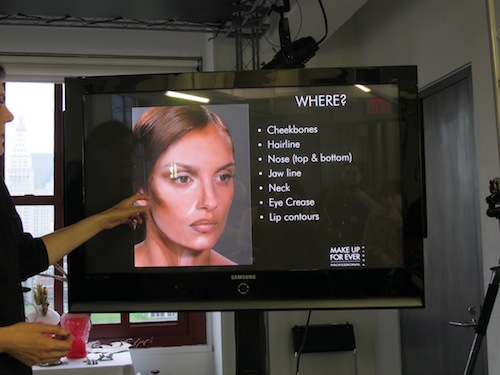
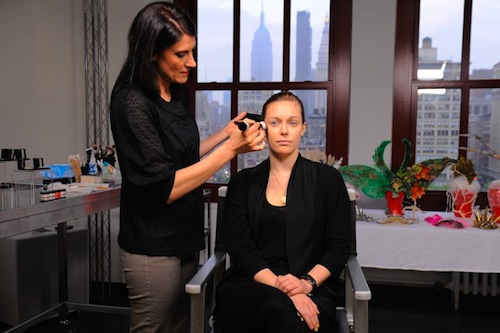
2. Choose a neutral contour color that is one shade darker than your skin tone using either the Sculpting Kit or a matte Eye Shadow.
3. Start by contouring the hairline using the slanted side of the Sculpting Brush, lightly sweeping the powder back and forth toward the center of the face to thoroughly blend the outer edges.
4. Moving on to the cheek area, start shading at the top of the ear and drag the contour inward and down using the slanted side of the Sculpting Brush, following your bone structure just beneath the cheeks in a sweeping motion back and forth. (Pro Tip: Blend the entire line upward to diffuse the outer edges and soften the contour.)
5. Choose a highlight color one shade lighter than your skin and apply to the T-Zone. Start in the middle of the forehead using the rounded side of the Sculpting Brush and working your way down to the bridge of the nose, below the eyes and top of the checks and finally the middle of the chin.
HOW TO SHAPE BROWS
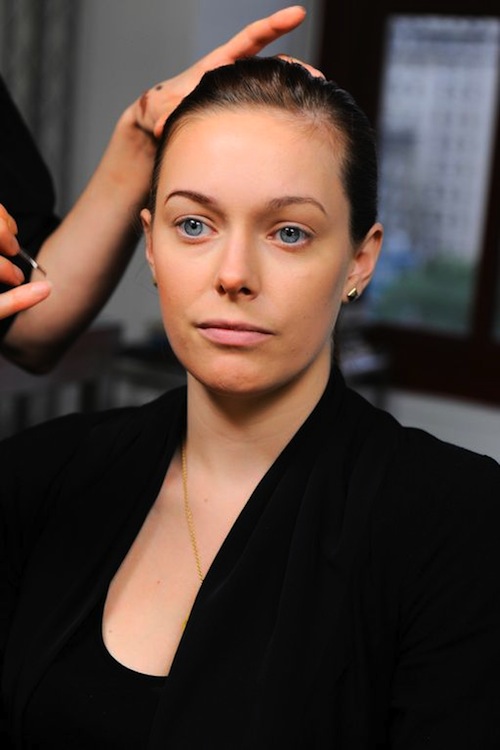
The next thing David showed us was how to shape our brows without looking overdone. She emphasized focusing on darkening the last 2/3rds of the brows to keep it natural (so from mid brow to the outer end). The #1 mistake women make when it comes to filling in their brows is choosing a shade that is too red. Stay neutral for best results.
What you Need:
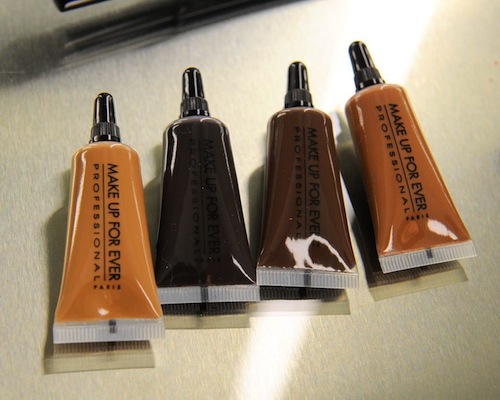
A brow comb, a finely angled eyebrow brush, a brow gel or powder that matches or is close to your current hair color and a translucent brow gel (optional).
Get the look:
1. Brush the brows upward using a comb to identify their shape. See where you would need to fill in or add more angle.
2. Apply a small amount of product to the angled brush. Start in the middle of the brow at the arch filling in the gaps between the hairs working from top side of the brow to the bottom. Your hand should follow the motion of an arch to open the eyes even more.
3. Go back and forth with your eyebrow brush and extend the color to the end of the eyebrow, your color should blend to nothing. (Pro Tip: Apply the product only to the outer 2/3 of your brow as the color is most vivid. Do not blend the eyebrow in downwards as it creates a “sad eyes” expression.)
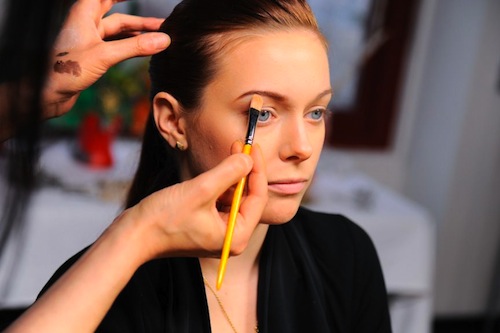
4. When your brush doesn’t have much product left, drag the color to the beginning of the inner brow. (Pro Tip: A softer inner brow will create a more natural effect.)
5. Keep sweeping your brush back and forth to fill out any gaps and define the shape.
6. Comb your brows with Brow Seal to keep brow hairs in place (optional).

CLASSIC EYE CONTOUR
Finally, we learned how to contour the eyes. The classic contour is a very basic technique that artists learn when they first start applying make up, but many woman don’t know exactly where to place the product in order to create the most flattering version on themselves. Most people over blend the crease which looks muddy. A proper contour corrects saggy eye lids, puffy creases or down turned eyes, and adds dimension by popping the lid and deepening the crease.
What you Need:
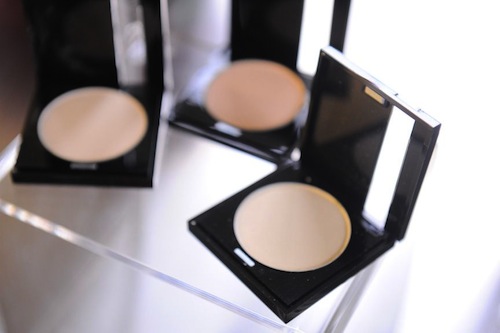
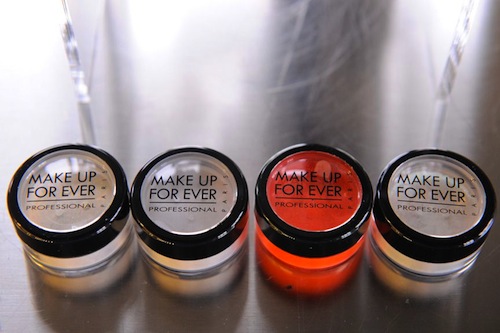
One light and one deeper, matte shade of eye shadow, a shimmery, light shade of eye shadow for highlighting (optional), a soft, natural bristle eye shadow brush for easy blending (like #10S) and a firmer nylon bristle eye shadow brush for precise application (like #5N), as well as your favorite eyeliner and mascara (in black or another complimentary shade).
Get the Look
1. Choose a light shade of Eye Shadow and apply to the entire lid, blending the outer edges to soften them using brush #10S.
2. Take the deeper, matte Eye Shadow shade for the contour and apply it along the orbital bone (crease) using brush #5N, starting from the outer corner of the lash line to about the center. (Pro Tip: Make sure to follow the bone structure when applying the contour.)
3. Using brush #10S in a sweeping motion back and forth, drag the darker shadow inward beyond the center of the eye. Then, blend the entire line upward to diffuse the outer edges and soften the contour.
4. Apply the lighter shade of Eye Shadow or star powder above the darker shade on the brow bone and blend using brush #10S.
5. Line the eyes with Aqua Eyes, starting from the outer corner of the lash line and stopping 1/3 of the way before reaching the inner eye. Keep the line as CLOSE to the lash line as possible, getting in between lashes. Repeat on the bottom lash line.
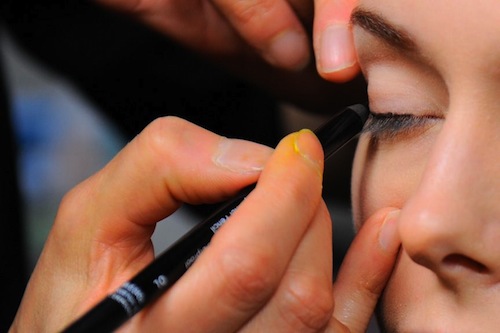

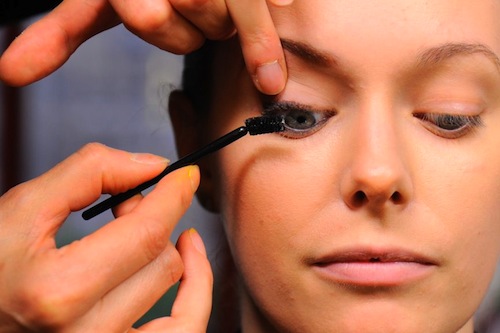
6. Complete the look by applying Smoky Lash Mascara to the top and bottom lashes as desired. David showed us one of her favorite tips to saturate the lashes is also to use a mini fan brush and brush some of the mascara on the top of the lashes too.
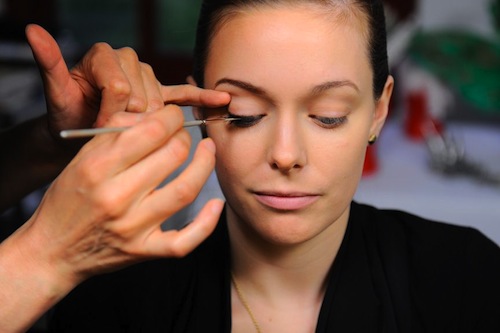
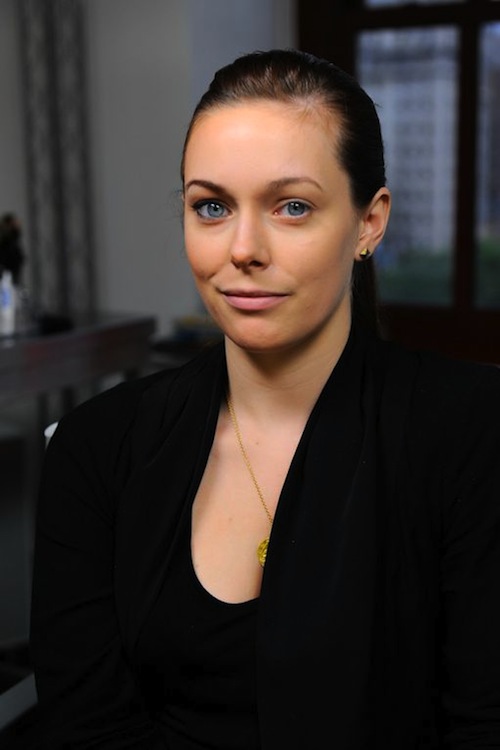
Of course, the fun part was trying it ourselves ;).
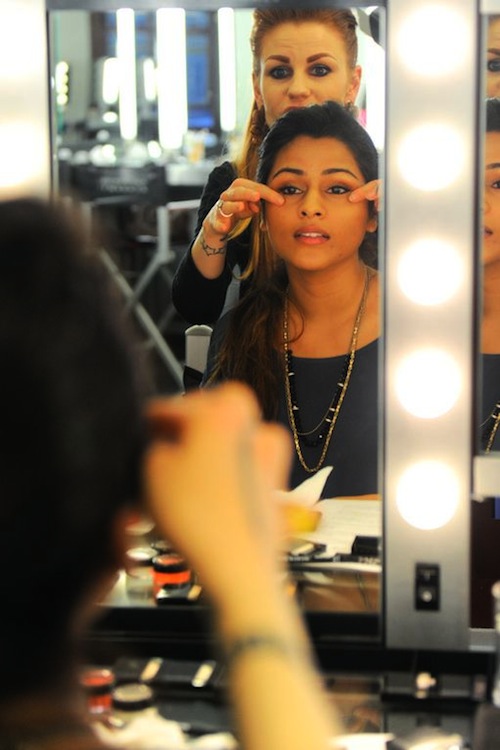
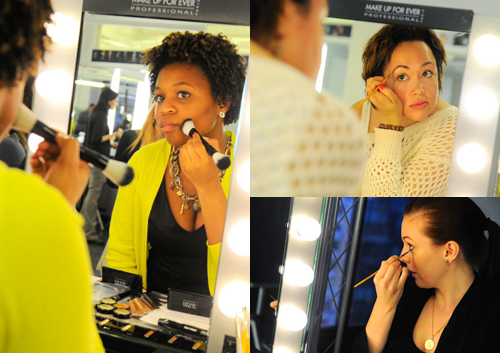
What would you want to learn from makeup school? Make Up For Ever’s Academy probably offers it! A full course starts at $4,550 for beginners (that includes a full makeup kit as well). You can contact them at [email protected] or at 212-377-3600 for more info.
x
Shy
“Like” Beauty and the Feast on Facebook
Follow Beauty and the Feast on Twitter
Awesome! Going to the makeup academy is on my bucket list. 🙂
Can I have ur jacket
Be my guest 😉